Tape-in hair extensions have become one of the most popular choices for people looking to add volume, length, or color to their hair without long-term commitment. Known for their natural appearance, lightweight feel, and reusable nature, tape-ins offer a semi-permanent solution that can dramatically transform a person's look. However, like all beauty enhancements, they require proper maintenance to ensure longevity. This article will dive deep into how long tape-in hair extensions last, what factors influence their durability, and how to take care of them for the best results.
1. Average Lifespan of Tape-In Hair Extensions
On average, tape-in hair extensions need to be reinstalled every 6 to 8 weeks due to natural hair growth. However, the extensions themselves can last anywhere from 6 months up to a year if maintained properly.
Here's a quick overview:
| Aspect | Timeframe |
|---|---|
| Time between reapplications | 6–8 weeks |
| Overall extension lifespan | 6–12 months (with care) |
2. Factors That Affect Longevity
Several elements can dramatically impact how long your tape-in extensions last. Let’s break them down:
a. Hair Growth Rate
Everyone’s hair grows at different rates, but on average, human hair grows about 0.5 inches (1.25 cm) per month. As hair grows, the tapes move further down from the scalp, making them more noticeable and harder to manage.
b. Hair Care Routine
Daily habits significantly influence tape lifespan. Over-washing, using heavy products, or applying oils too close to the tape bonds can weaken the adhesive and cause slippage.
Example:
Sarah loved her extensions but washed her hair every day with a harsh shampoo. Within 4 weeks, her tapes started slipping, forcing an early reapplication.
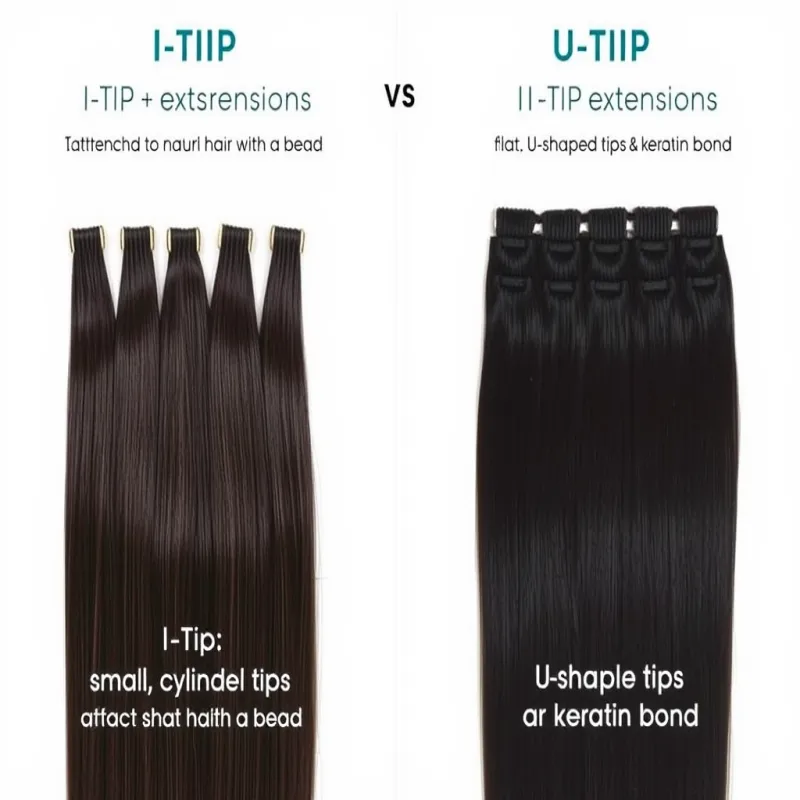
c. Quality of the Extensions
Not all extensions are created equal.
Remy Human Hair: Lasts longer (up to 12 months)
Synthetic Hair: Short lifespan (2–3 months)
| Hair Type | Expected Lifespan |
|---|---|
| Remy Human Hair | 6–12 months |
| Non-Remy Human Hair | 3–6 months |
| Synthetic Hair | 2–3 months |
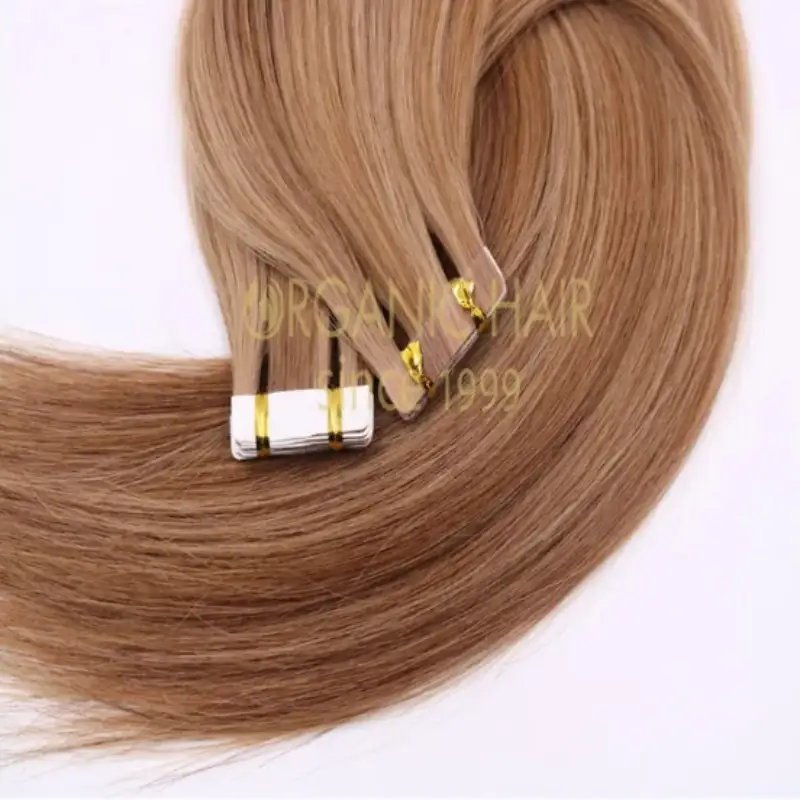
d. Quality of the Adhesive
Professional-grade tapes tend to last longer and stay securely attached compared to cheap or DIY adhesives.
3. Signs It's Time to Move or Replace Your Tape-Ins
Knowing when it's time to adjust or replace your extensions is key to maintaining a natural look.
Common signs include:
Tape Slippage: When the adhesive starts sliding down the hair shaft
Tangles and Matting: Caused by improper brushing or product buildup
Difficulty Styling: Extensions won't blend smoothly or lay flat
Example:
After 8 weeks, Rachel noticed her tape-ins were showing when she tied her hair into a ponytail. Upon visiting her stylist, they found the tapes had slipped nearly 2 inches down her natural hair.
4. Tips to Extend the Life of Your Tape-In Extensions
Good habits can significantly extend both the tape hold and the hair's integrity.
a. Gentle Washing Techniques
Wash hair 2-3 times per week at most.
Always use sulfate-free, alcohol-free shampoos.
Avoid scrubbing near the roots.
Pro Tip:
When washing, tilt your head back to avoid tangling the extensions.
b. Use the Right Products
Choose lightweight, extension-safe products:
Sulfate-free shampoos
Silicone-free conditioners (apply only from mid-shaft down)
Leave-in conditioners or serums (away from tape)
c. Avoid Heat Near the Tape Area
Direct heat from flat irons or curling wands can melt or weaken adhesive bonds. Always leave a 1–2 inch buffer zone around the tape when styling with heat.
d. Proper Brushing
Use a loop brush or a wide-tooth comb.
Start brushing from the ends upward.
Brush 2–3 times daily to prevent tangling.
e. Regular Salon Maintenance
Schedule check-ins every 6–8 weeks to reinstall, retape, or adjust the extensions as necessary.
5. How to Properly Remove and Reapply Tape-Ins
a. Professional Removal
It’s highly recommended to get tape-ins removed by a licensed stylist. They use special tape bond removers (usually oil- or alcohol-based) to gently dissolve the adhesive without damaging your natural hair.
b. DIY Removal (With Caution)
If you choose to remove tape-ins yourself:
Purchase a professional remover spray.
Apply remover at the bond and gently peel apart.
Clean all residue before re-taping.
c. Reapplication Process
After removal:
Clean the hair extensions thoroughly.
Replace old tape with new medical-grade adhesive strips.
Reinstall closer to the scalp.
6. Common Mistakes That Shorten Their Lifespan
Avoid these mistakes to make the most out of your tape-ins:
| Mistake | Impact |
|---|---|
| Over-washing | Weakens tape adhesive |
| Using heavy, oily products | Causes tape slippage |
| Direct heat on tapes | Melts/loosens adhesive |
| Rough brushing when wet | Pulls extensions, causes matting |
| Skipping regular maintenance appointments | Tapes become visible, tangled, or break down faster |
Conclusion
Tape-in hair extensions are a fantastic investment when it comes to boosting hair volume and length. On average, you can expect 6–8 weeks between salon visits for maintenance, and up to 6–12 months of overall use if you commit to a proper care routine.
The key to long-lasting tape-in extensions includes:
Using high-quality hair and adhesive
Following a gentle washing and styling routine
Scheduling regular maintenance appointments
Avoiding oils and heat near the tape bonds
When treated well, your tape-in extensions will continue to look beautiful, blend naturally, and save you money over time by reducing the need for frequent replacements.
If you're considering tape-ins, always consult a certified hair extension specialist to ensure the best fit and the longest possible wear. Healthy habits equal a healthy, gorgeous mane!