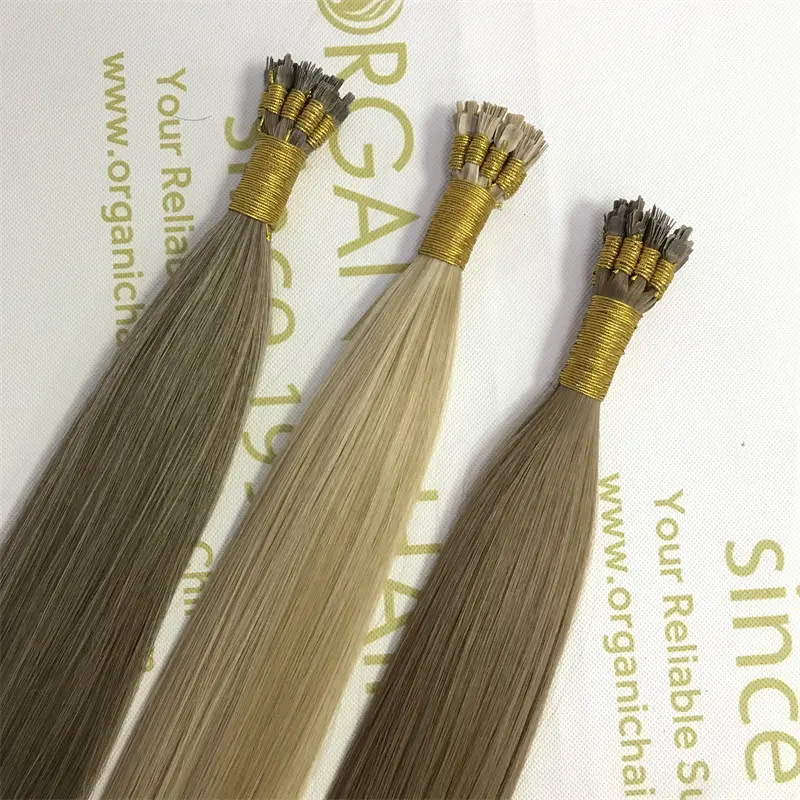
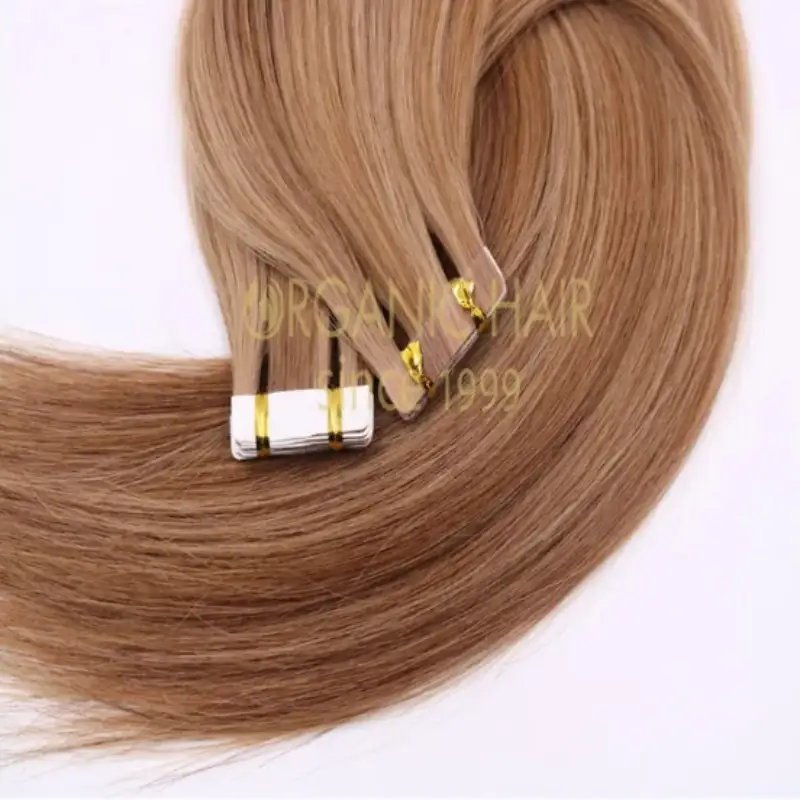
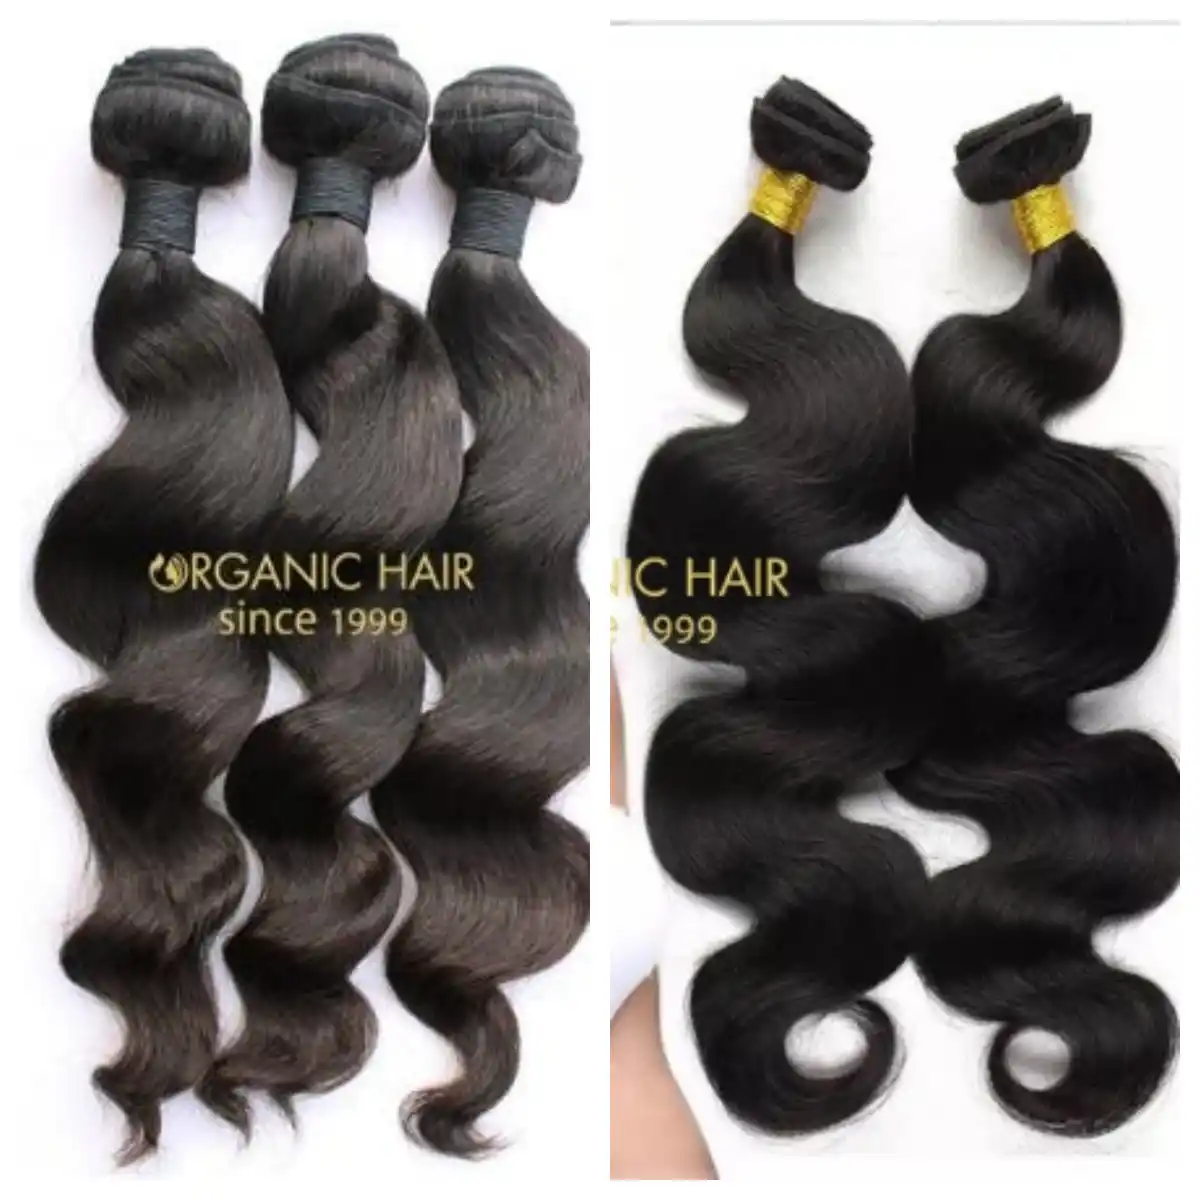
Keratin flat tip application step by step. For the Keratin Flat tip application, you will need at least 125 strands of hair to complete a full head application. It will depend on how much volume and length your customer wants for you to determine what amount of hair you will need.
How to apply flat tip keratin hair extensions V121
First of all, it is important for you to have all of your tools and equipment ready for your client's arrival.

1. The following steps will be necessary for the successful Keratin flat-tip application
Step one. Shampoo and clarify your client’s hair. Scrub well. With this process, you remove any oils, conditioners, and products from the customer’s hair. If there is residue left on the hair cuticle, the keratin bond will not adhere to the hair. Be sure your client has thoroughly clean hair.
Step two. Dry your client's hair. Do not use a comb or brush. Dry the hair without using any tools. Then the hair is thoroughly dry, comb through.
Step three. Smooth and flat Iron your client's hair. The flat iron process is imperative to tame the curly hair and allow for the easiest application of the flat tip process.
Step four. Make your first section around the parameter of your customer’s head. Leave about 3/4 of an inch space of hair to cover the flat keratin bonds.
Step five. Make your first strand section. Using your sectioning, make your attachment section. You will need to match as close as possible the section of hair to the size of the flat-tip. Do not take too much hair because it will not all hold in the bond. Do not take too little hair because it could pull out of the client's scalp. With your hair section in one hand, place the flat tip under the section, between your fingers. Holding the hair just below the bond, use you applicator tool and gently tap the bond with the hair for 2-3 seconds. You will see the bond melt. After you see the bond melt, set down your tool and use your fingers to flatten the keratin bond into the section. Check that the bond is evenly attached to the hair.
Step six. Repeat the procedure around your first section. To make your next section, measure two fingers width space and follow the same path from the back of the head around the sides. Complete this process until you are satisfied with the fullness or you reach the lowest part of the crown. Do not apply any keratin bonds on the top of the head.
Step seven. Blending your flat-tip extensions. Use a hair cutting razor to cut and blend into any desired style.

2. Removal of flat tip hair extensions
Break the bond using the removal plier by crunching several times around the bond using the plier removal tool. Holding the client’s hair above the bond securely, gently pull by the end of the extension hair or on the bond, the bond will detach from the customer's hair. If it does not pull smoothly, use the plier tool to crunch the bond several more times and pull by the end of the extensions hair again.

Contact us and let us begin the journey! Come on!
Name: Vicky
WhatsApp:+86 17862986500
Instagram: organichairextensions.vicky
Brushing your hair extensions. In order to avoid pulling your extensions out or down, start off at the bottom. Using a soft-bristled brush, gently brush the tips of your hair, before moving on the centre, being careful not to snag the base of the hair extensions themselves, before moving from your scalp downwards.
Step one.
Shampoo and clarify your client’s hair. Scrub well. With this process, you remove any oils, conditioners, and products from the customer’s hair. If there is residue left on the hair cuticle, the keratin bond will not adhere to the hair. Be sure your client has thoroughly clean hair.
1. The following steps will be necessary for the successful Keratin flat-tip application.
Step one.
Shampoo and clarify your client’s hair. Scrub well. With this process, you remove any oils, conditioners, and products from the customer’s hair. If there is residue left on the hair cuticle, the keratin bond will not adhere to the hair. Be sure your client has thoroughly clean hair.
Step two.
Dry your client's hair. Do not use a comb or brush. Dry the hair without using any tools. Then the hair is thoroughly dry, comb through.
Step three.
Smooth and flat Iron your client's hair. The flat iron process is imperative to tame the curly hair and allow for the easiest application of the Keratin Flat Extensions process.
Step four.
Make your first section around the parameter of your customer’s head. Leave about 3/4 of an inch space of hair to cover the flat keratin bonds.
Step five.
Make your first strand section. Using your sectioning, make your attachment section. You will need to match as close as possible the section of hair to the size of the flat-tip. Do not take too much hair because it will not all hold in the bond. Do not take too little hair because it could pull out of the client's scalp. With your hair section in one hand, place the flat tip under the section, between your fingers. Holding the hair just below the bond, use you applicator tool and gently tap the bond with the hair for 2-3 seconds. You will see the bond melt. After you see the bond melt, set down your tool and use your fingers to flatten the keratin bond into the section. Check that the bond is evenly attached to the hair.
Step six.
Repeat the procedure around your first section. To make your next section, measure two fingers width space and follow the same path from the back of the head around the sides. Complete this process until you are satisfied with the fullness or you reach the lowest part of the crown. Do not apply any keratin bonds on the top of the head.
Step seven.
Blending your flat-tip extensions. Use a hair cutting razor to cut and blend into any desired style.


